
Choosing the Right Materials for Your DIY Lamp: Mushroom Lamp Materials Guide


You know what's funny? I never thought I'd become so obsessed with making mushroom lamps! After creating dozens of these whimsical lights and helping others craft their own magical pieces, I've learned exactly what materials make or break a project. Today, I'm super excited to share my complete guide to choosing the perfect components for your DIY mushroom lamp. Trust me, picking the right materials will save you from the frustrating mistakes I made when I first started!
Essential Base Materials: Creating a Strong Foundation
Let's start with the backbone of your mushroom lamp. I learned the hard way that skimping on base materials can lead to a wobbly, unstable creation - definitely not what you want for a beautiful centerpiece! For your lamp's base, you'll need a solid foundation that provides both stability and aesthetic appeal.
I've found that natural wood slices make the perfect base for mushroom lamps. Aim for a piece that's at least 1.5 inches thick and 6-8 inches in diameter. Oak, maple, or cedar work beautifully because they're dense enough to support your lamp while resisting warping over time. Man, I still remember when I used a thin piece of pine for my first lamp - it started wobbling after just a few weeks because the wood wasn't sturdy enough!
If you're going for a more modern look, you might consider using a concrete base. I've experimented with various concrete mixes, and I've discovered that a standard Portland cement mixed with fine sand in a 1:2 ratio creates the perfect texture. Just remember to add a waterproof sealant after it cures - I learned that lesson after one of my early bases started crumbling at the edges.
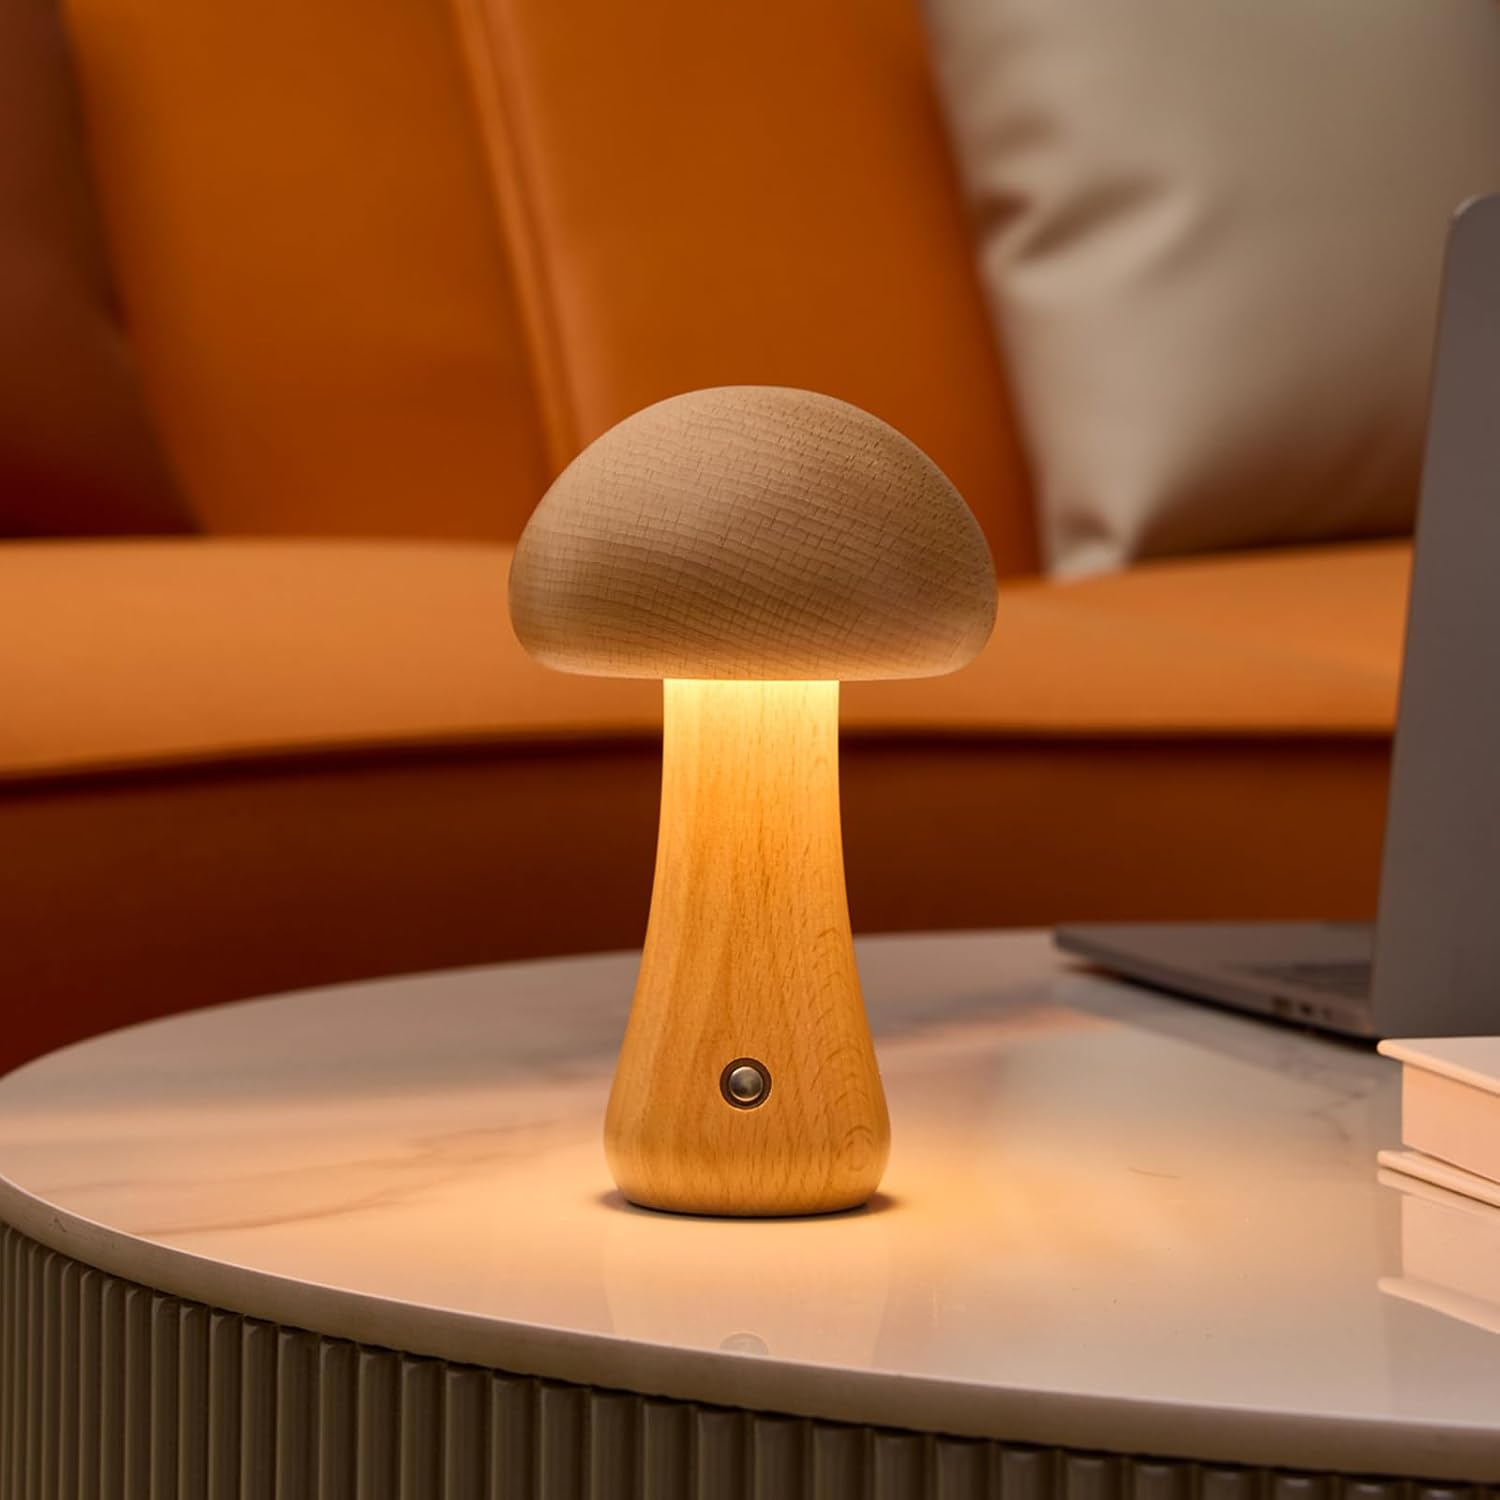
Lighting Components: Getting That Magical Glow

The lighting setup is where the magic happens! After trying countless combinations, I've narrowed down the perfect lighting components that create that enchanting mushroom glow. First up, you'll need LED strips or bulbs - and not just any LEDs will do.
For the best results, I recommend using warm white LED strips (2700K-3000K color temperature) with a minimum of 30 LEDs per meter. These create a cozy, natural-looking glow that mimics actual bioluminescent mushrooms. I made the mistake of using cool white LEDs (6000K) in my early projects, and they looked way too harsh and artificial. You'll also want to make sure your LEDs are dimmable - trust me, being able to adjust the brightness makes a huge difference in creating the right ambiance.
Don't forget about proper voltage! Most LED strips run on 12V DC power, so you'll need a compatible power supply. I recommend getting one with at least 2A output to ensure steady, flicker-free lighting. And please, please get a good-quality power supply - I once tried to save a few bucks on a cheap one, and it burned out within a week!
Cap Materials: Crafting the Perfect Mushroom Top
The mushroom cap is where you can really let your creativity shine! After experimenting with various materials, I've found that polymer clay and epoxy resin are the top contenders for creating stunning caps. Each has its own unique advantages and challenges.
Polymer clay is fantastic for beginners because it's forgiving and can be reworked if you make mistakes. Sculpey Premo or Fimo Professional are my go-to brands because they maintain fine detail and don't become brittle after baking. The key is to keep your clay at an even thickness of about 1/4 inch - any thinner and it might crack, any thicker and it won't diffuse light properly.
For those ready to level up their mushroom lamp game, epoxy resin creates absolutely magical results. I use a clear casting resin with a 1:1 mixing ratio, and here's a pro tip: add a tiny drop of white alcohol ink to make it slightly translucent. This creates an ethereal glow that's simply stunning. Just be sure to work in a well-ventilated area and wear proper protection - I learned that lesson the hard way after getting a headache from working with resin in my poorly ventilated garage!
Stem Construction: Building the Perfect Support
The stem needs to be both sturdy and aesthetically pleasing since it's literally holding everything together. PVC pipe has become my absolute favorite stem material after trying various options. A 1/2 inch diameter pipe provides the perfect balance of strength and proportion for most mushroom lamps.
Here's something I discovered through trial and error: paint your PVC with a plastic primer before applying your final color. Without primer, the paint will eventually chip off, especially around areas that get handled frequently. I use Rust-Oleum Plastic Primer, followed by chalk paint for a beautiful matte finish that looks incredibly natural.
For a more organic look, you can wrap the stem with natural twine or moss. I love using preserved sheet moss because it adds texture and really sells the woodland aesthetic. Just secure it with clear hot glue, working in small sections to ensure even coverage.
Decorative Elements: Adding Personal Touches
This is where you can really make your mushroom lamp unique! After creating countless lamps, I've built up quite a collection of decorative materials that work beautifully. Small artificial plants, preserved moss, tiny crystals, and even miniature fairy garden accessories can transform your lamp into a magical woodland scene.
One of my favorite techniques is creating a moss bed around the base using a mix of preserved reindeer moss and sheet moss. The key is building up layers with different textures - it creates depth and makes the whole piece look more natural. I've found that using three different types of moss creates the most realistic-looking base.
Remember to seal any natural materials you use with a UV-resistant clear coat. The first time I used real dried moss without sealing it, it started deteriorating after a few months. Now I always use Mod Podge Clear Acrylic Sealer, which keeps everything looking fresh for years.
Conclusion
Choosing the right materials for your DIY mushroom lamp might seem overwhelming at first, but it's absolutely worth taking the time to gather quality components. Remember, each piece you select contributes to both the functionality and magical appearance of your final creation. Start with these recommended materials, but don't be afraid to experiment and make the design your own!
I'd love to see what you create with these materials - every mushroom lamp ends up being uniquely beautiful! If you have any questions about specific materials or techniques, feel free to drop them in the comments below. Happy crafting!